Do you have a strong dislike for small predatory species? Are you operating on a tight budget, yet still require an effective lure to take down a rogue fox? Well, you’ve come to the right place. In this article, I’ll explain how you can make your own Tenterfield (or jam jar) style fox whistle!
What is a Tenterfield fox whistle?
A Tenterfield fox whistle is a bent piece of metal, with two holes drilled into it. As the user blows through the whistle, a noise is produced which replicates the sound of an injured rabbit or hare. This will attract predatory species such as wild dogs and foxes.
For this build, you’ll need:
- Jam jar lid
- Angle grinder OR hacksaw
- Drill with a 3mm drill bit
- Vice OR straight edge
- Fine metal file, emery block, OR sandpaper
- Hammer and metal punch
- Flat bladed screwdriver
- A quick-release clamp
- Small ruler and pen
Build process
Mark a line down the centre of your jam jar lid.
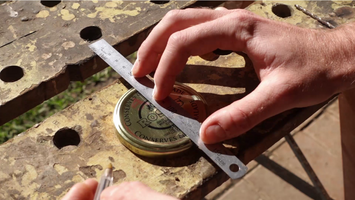
Measure out 16mm from either side of this centre line, and place a mark.
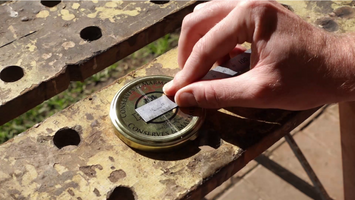
Extend these lines to the top and bottom of this lid.
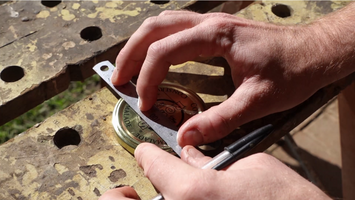
Connect these lines by tracing around the raised lip of the lid. Your lines should look like this:
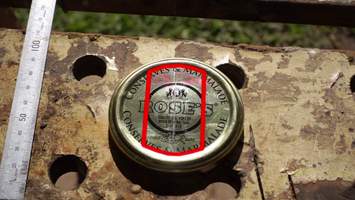
Clamp the jam jar lid on the edge of your bench, and use your grinder (or hacksaw) to trim these outer lines – as marked in red (above).
Use your file, emery block, or sandpaper to remove any burrs, and smooth out the edges of the metal. This should be done on both sides of the whistle.
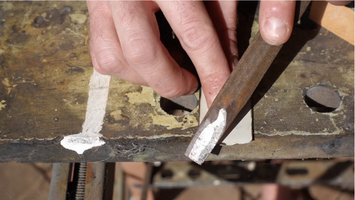
Mark a point 5mm from the bottom, and another halfway up the workpiece. The bottom mark will be drilled out so that you can attach some string to the whistle. This will prevent you from losing it while out in the field. The centre mark will be a reference point that we’ll use to bend the whistle into shape.
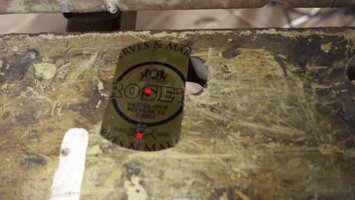
Use your punch to dent the lower mark (at 5mm). This will prevent your drill bit from sliding around.
Drill out this hole, and as always, use your file (etc) to remove any burrs or rough edges. Then hammer the whistle flat on both sides.
Place the whistle into a vice just below the halfway mark, this will make the lower section – with the hole in it, slightly longer and easier to hold. Alternatively, you can lean it against a straight edge.
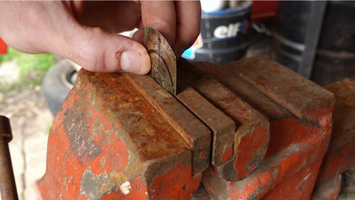
Bend the whistle 90 degrees, remove it from your vice, and squash it completely flat. Don’t worry if it’s slightly wonky, like mine.
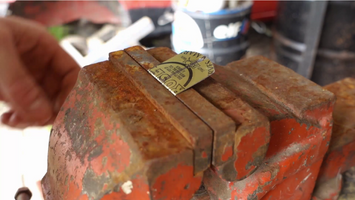
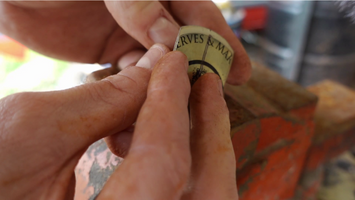
Mark a point 10mm in from the bent edge. Hit it with your punch and drill the hole straight through.
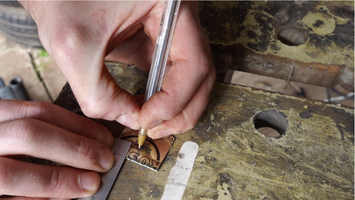
Remove any burrs, and taper down the corners on the bent edge. If you don’t do this, it will cut up the corners of your mouth.
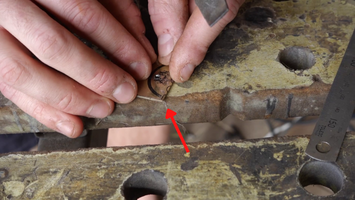
Finally, take a screwdriver, and separate the flaps of the whistle.
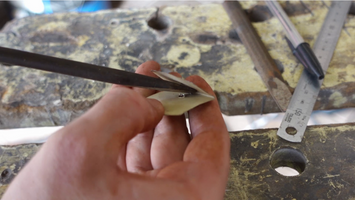
How to use a Tenterfield Fox Whistle
Place two fingers inside the centre of the whistle – one on either side, making a slight V-shape.
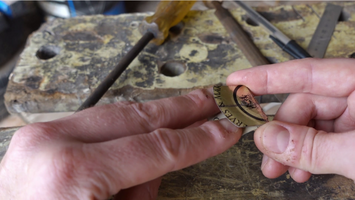
Hold the whistle in this position by placing your thumb over the string hole.
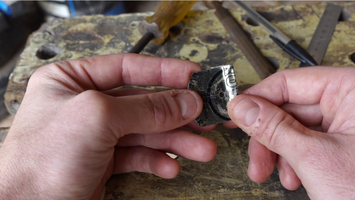
Place your top lip above the hole in the top,
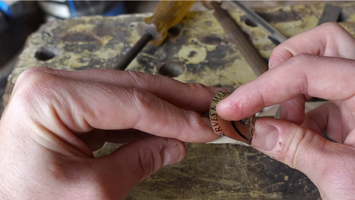
Move your bottom lip just past the hole on the lower section.
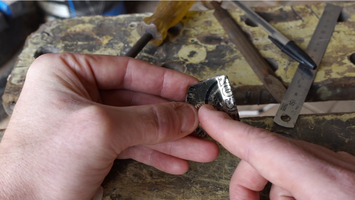
Rest your tongue just under the lip on the bent edge and blow.
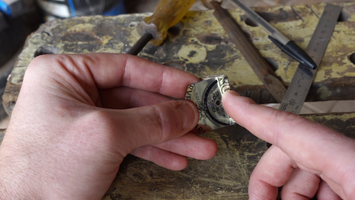
As you blow, the air should travel through both holes and make a high-pitched squealing noise. Be prepared, as it can be a steep learning process. If no noise is made, try altering the angle or depth of the whistle in your mouth to find the sweet spot.
Tuning the whistle
There are some ways to tune the whistle in order to produce different sounds. This includes changing the shape of the bent edge like you can see here with the toothpick.
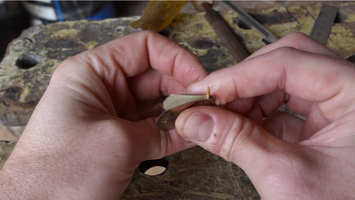
You can also play around with different-sized holes – with some popular choices being 2.5mm for the top hole, with a 4mm bottom hole. Or you can simply move the whistle in a horizontal motion while blowing, this will make a more frenzied sound.
Practicing
As I said earlier, this whistle can have a steep learning curve. My recommendation is to leave it in the centre console of your car, and practice while stuck in heavy traffic, or while waiting on the family. Not only is it a good way to kill time, but it’s also a good way to mess with other car drivers.
Final advice
Before using, always make sure the whistle is free from any gross build-up – like last Tuesday’s servo pie or any mold. If in doubt, give it a good scrub, or kick it to the curb, and replace it with a newer model. Just like what you would if it were a discovery made while on a bad tinder date. Enjoy!