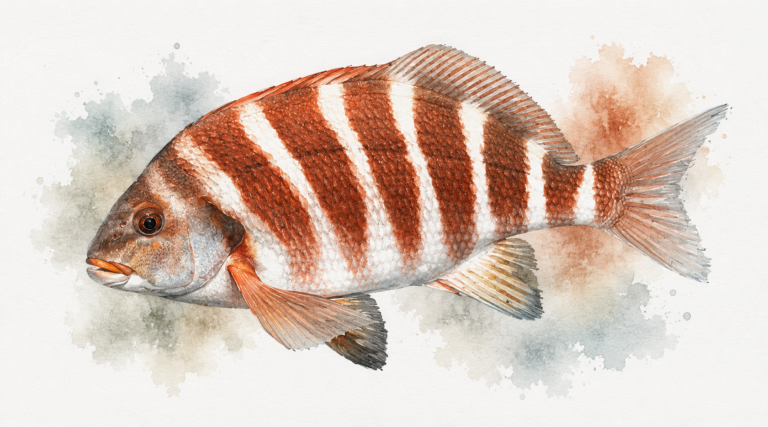
Barramundi
Scientific name: Lates calcarifer
Common names: Barra, Barramundi, Asian Seabass.
Average size: 60–90 cm (3–8 kg)
Trophy size: 100–130 cm+ (15–30 kg+)
Activity pattern: Crepuscular / nocturnal ambush predator
Distribution and key locations (Australia)
Barramundi are found across tropical northern Australia and are one of the country’s most iconic sportfish.
Prime regions
- QLD: Cape York, Gulf rivers, Hinchinbrook, Norman, Tully, Daintree systems
- NT: Daly, Adelaide, Mary, Victoria, Roper rivers
- WA: Kimberley rivers, estuaries and tidal creeks
High-percentage areas
- Mangrove-lined creeks
- Tidal river systems
- Rock bars and snags
- Floodplain drains
- Creek mouths
- Coastal estuaries
- Freshwater billabongs connected to river systems
If there are baitfish, current, and structure in northern Australia, there is a good chance barramundi are nearby.
Habitat features to look for
Barramundi are classic ambush predators. They position themselves where food is forced past them.
Key structure
- Fallen timber
- Mangrove roots
- Rock bars
- Undercut banks
- Drain mouths
- Creek junctions
- Bridge pylons
- Weed edges in freshwater impoundments
Water conditions
- Slightly dirty water is often ideal
- Moderate tidal flow
- Water temperature above 24°C
- Baitfish concentrations are critical
The best barra locations usually combine current, cover, and bait.
Seasonal patterns
Best seasons
Northern Australia
- Build-up season (October–December)
- Wet season runoff (January–May)
- Early dry season (May–July)
Why runoff season?
- Floodwaters push bait from floodplains
- Barramundi concentrate around drains and creek mouths
- Fish feed aggressively after wet-season flooding
- Water clarity improves while food remains abundant
Many trophy barra are caught during runoff periods when bait is funnelled into predictable locations.
Weather and tides (critical)
Ideal conditions
- Building humidity before storms
- Overcast conditions
- Warm water temperatures
- Strong tidal movement
- Runout tides around creek mouths
Avoid
- Neap tides with little movement
- Sudden cold snaps
- Crystal-clear water with little bait activity
Best bite windows
- Dawn
- Dusk
- Night
- First half of the run-out tide
- Tide changes around structure
Many experienced barra anglers plan their entire trip around tidal movement rather than the clock.
Bait – what actually works
Barramundi are opportunistic predators that readily eat fish, prawns, and crustaceans.
Top natural baits
- Live mullet
- Live herring
- Live prawns
- Live cherabin (freshwater prawns)
- Fresh mullet fillets
- Fresh garfish
- Large prawns
Bait rules
- Live bait consistently outfishes dead bait
- Larger baits often attract larger fish
- Present baits close to structure
- Keep baits swimming naturally
If your bait is not close to cover, you’re usually not close enough.
Tackle and rigs
Rod and reel
- Rod: 6–7.5 ft baitcaster or spin rod
- Reel: 3000–5000 spin or low-profile baitcaster
- Line: 20–50 lb braid
- Leader: 40–80 lb fluorocarbon or mono
Terminal gear
- Circle hooks: 4/0–8/0
- Strong live-bait hooks
- Minimal terminal hardware
Common rigs
- Unweighted live bait
- Light running sinker rig
- Suspended float rig around snags
- Weedless rig for heavy timber
Heavy leaders are essential because barra often engulf lures and rub leaders against timber.
Lures (when and why)
Barramundi are among Australia’s best lure-caught fish.
Effective lures
- Soft plastics (4–7 inch paddle tails)
- Shallow-diving hardbodies
- Deep-diving hardbodies
- Vibration baits
- Soft vibes
- Surface walkers
- Poppers
When to use lures
- Active fish around snags
- Creek mouths during runoff
- Impoundments
- Night fishing
- When covering large areas quickly
Accurate casting is often more important than lure selection.
Time of day
Best
- Dawn
- Dusk
- Night
- Overcast days
Daytime
Possible throughout the day when fish are holding deep around structure or during strong tidal movement.
Large barramundi frequently feed during low-light periods when they can ambush prey most effectively.
Common mistakes
- Fishing away from structure
- Retrieving lures too quickly
- Using leaders that are too light
- Ignoring tidal movement
- Not targeting bait concentrations
- Giving fish too much line near timber
Most barra losses occur within the first few seconds of the fight.
Final rule of barramundi fishing
Find structure + bait + warm water + tidal movement. Then place your lure or bait as close to the cover as you dare.
Barramundi are rarely far from an ambush position, and the anglers who consistently catch them are usually the ones willing to cast closest to the snag.